
Opening balances: assets and non-current assets (manually and from Excel)
On this page
The "Assets" tab of the "Opening balances" document transfers fixed assets with their initial value and accumulated depreciation to Bimp. Add items manually or load them from Excel by template with the "Import" button; Bimp then charges depreciation and shows the residual value.
What you enter on the “Assets” tab
On the “Assets” tab you enter fixed assets and low-value assets (equipment, vehicles, devices, furniture) that the company uses for a long time. From this data Bimp charges depreciation and shows the real value of the assets in reports.
Example. “Smachna Kava” has a coffee machine bought a year ago for 60,000 UAH. The accountant enters an initial value of 60,000 UAH, depreciation of 10,000 UAH and an inventory number. Bimp sees a residual value of 50,000 UAH and charges depreciation every month.
Before you start
Create the Opening balances document, see Opening balances. For manual entry, add fixed assets in the Fixed assets section. For import from Excel this is not needed.
How to enter assets manually
Open the Opening balances document, go to the “Assets” tab and click Add. Fill in the columns.
- “Asset”: choose the item from the fixed assets directory.
- “Inventory number”: the item’s unique number in the company; it makes it easy to find a laptop or a machine during a check.
- “Asset status”: “Accepted for accounting” for assets currently in use, or “Removed from accounting” for already written-off ones whose history you need to keep.
- “Initial value”: the purchase price (historical cost).
- “Current depreciation”: the wear charged over the whole period of use up to the balance date.
- “Comment”: a serial number, location or responsible person.
- Save the document.
How to import assets from Excel
You can load assets from Excel by template: this is faster when you have dozens or hundreds of assets. Bimp will create the item cards in the fixed assets directory itself.
-
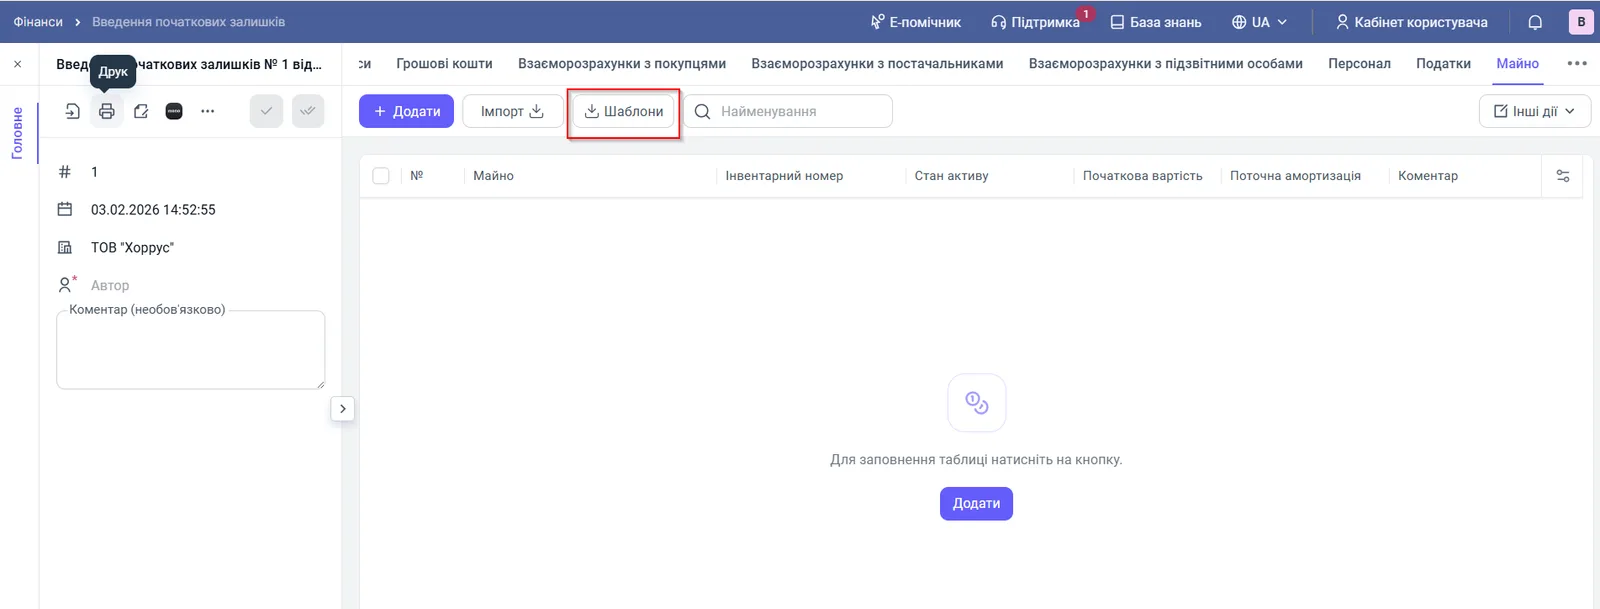
In the Opening balances document, open the “Assets” tab and click Templates. Bimp will download a file with the right columns.
-
Copy the asset data (name, inventory number, value and so on) into the template columns. Do not change the column names or the row structure.
-
Click Import, choose the filled file and confirm the import.
-
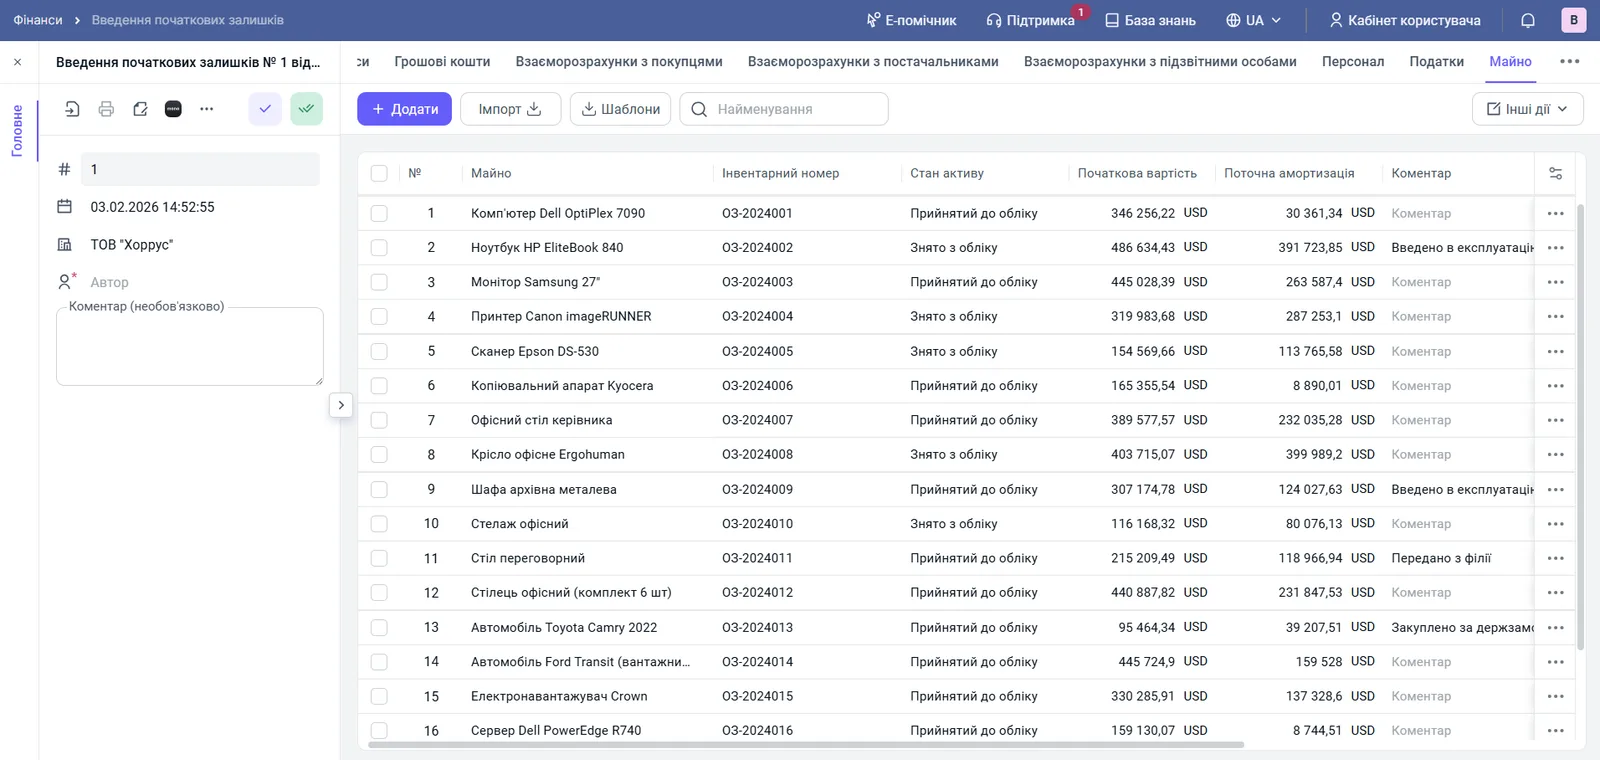
Review the list of loaded assets, check the fields and click Save in the top left corner.
How to check the result
After saving, the assets appear in the balance sheet, and Bimp starts charging depreciation. Make sure the residual value of each item equals the initial value minus the current depreciation, and that the items belong to the right organizations.
FAQ
Do I need to create fixed assets in the directory beforehand?
For manual entry, yes: the items must be in the "Fixed assets" section. When importing from Excel, new items are created automatically while the file is loaded.
Why does Bimp not let me save the depreciation?
Current depreciation cannot exceed the initial value: an item cannot have a negative value. Check the amounts in the line.
How is the residual value calculated?
Bimp takes the difference between the initial value and the current depreciation. For example, a coffee machine worth 60,000 UAH with depreciation of 10,000 UAH has a residual value of 50,000 UAH.