
Creating and setting up a company in Bimp
On this page
A company in Bimp is a separate database of your business. To create one, click "Create company" on the start screen, enter a name, and click "Create". The name, country, type of activity, and logo are changed in Settings on the "Company" tab. For several businesses, create several companies.
How to create a company
A company is created on the start screen after you sign in to your account. Each company has its own documents, products, counterparties, and settings. If you need the big picture of the system, start with the overview of Bimp modules and interface.
-
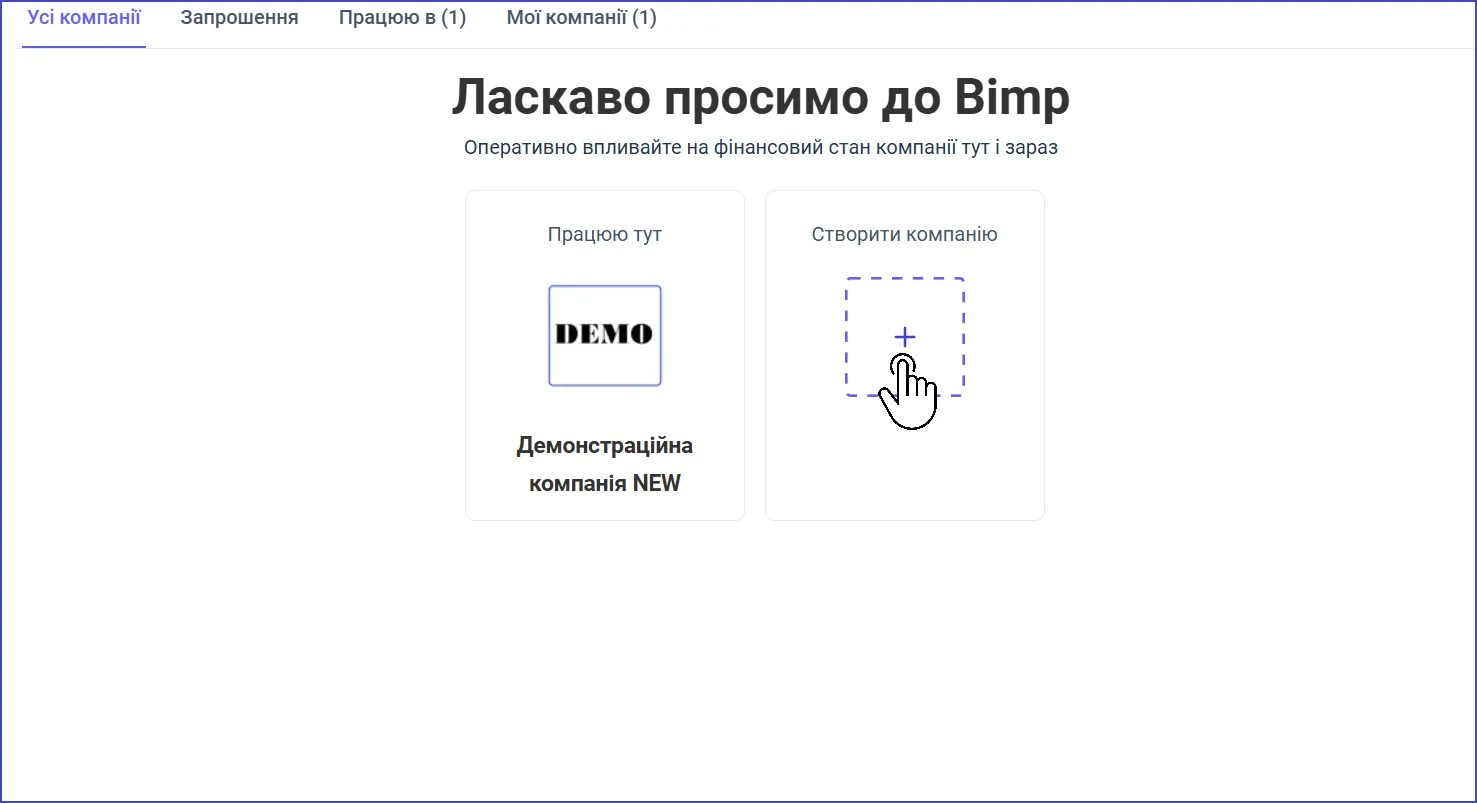
Sign in to Bimp. The start screen “Welcome to Bimp” shows the list of your companies.
-
Click Create company.
-
In the window, enter the company name and click Create. The new company appears in the general list.
If you manage several independent businesses or divisions, create a separate company for each. To switch between them, click the Bimp logo in the top left corner of the screen and choose the company you need.
The “Invitations” tab shows companies you have been invited to, and “I work in” shows companies where you work as a user.
How to change the name, country, and logo
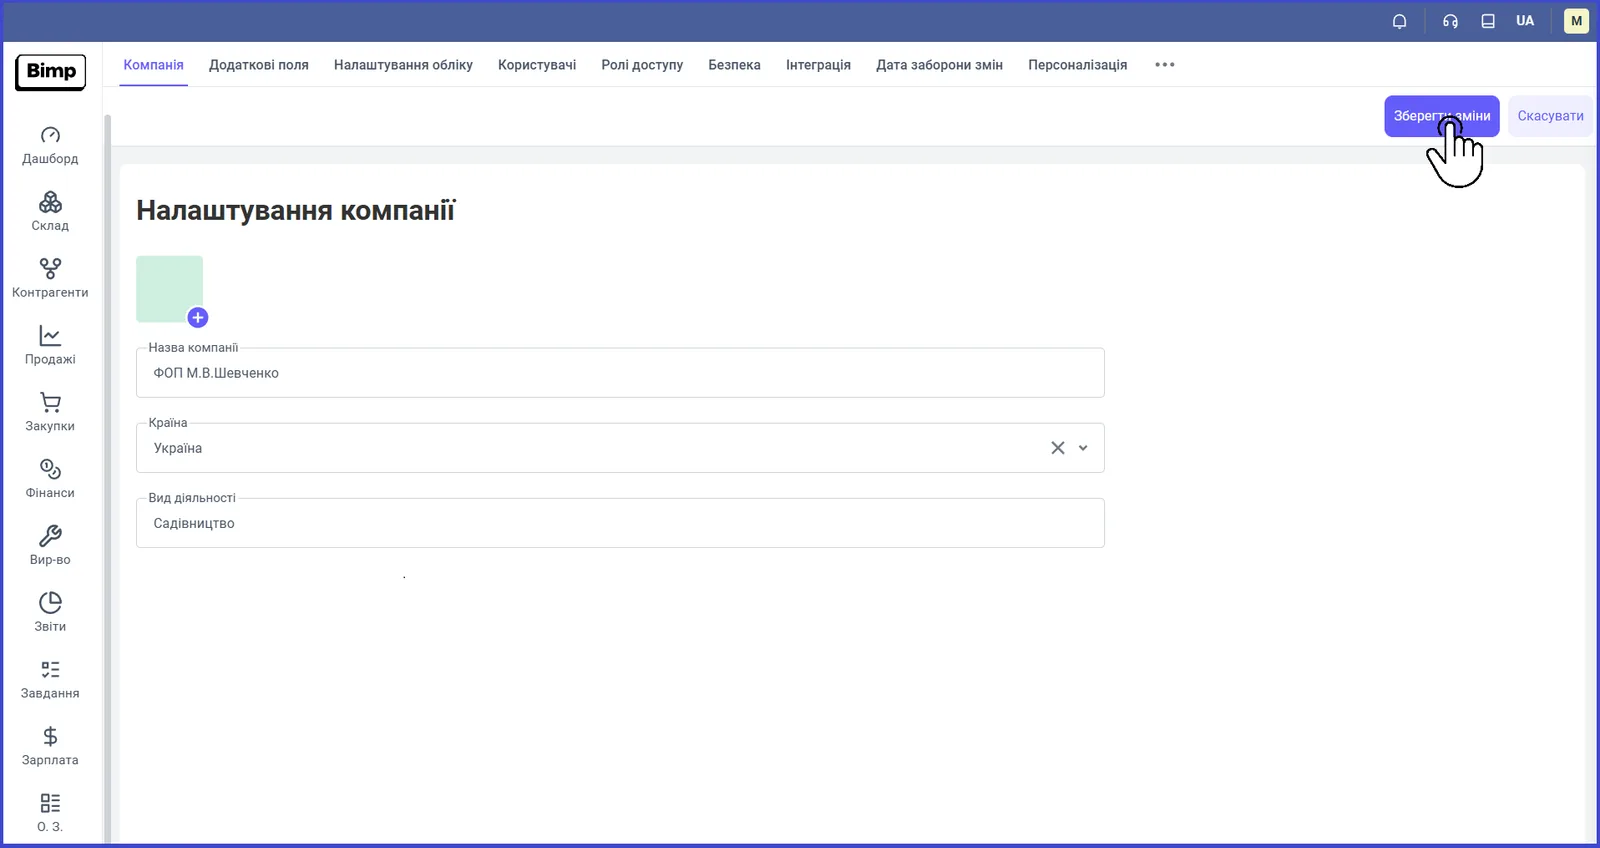
The main company data is edited in Settings on the “Company” tab.
- Click the profile icon in the top right corner of the screen and choose Company settings.
- On the “Company” tab, change the “Company name” if needed. The fields “Country” and “Type of activity” are optional.
- To add a logo, click + in place of the image and choose a file on your device.
- Click Save changes.
Which other company parameters are in Settings
Next to the “Company” tab, Settings has tabs with other parameters. Right after creating a company, the most important thing is to set up accounting; the other tabs are for when you need them.
| Tab | What is configured |
|---|---|
| “Accounting settings” | VAT rate, accounting currency, main project and organization, switches for stock control and reservation. See Accounting settings. |
| “Custom fields” | Your own fields in product and counterparty forms, if the standard ones are not enough. See Custom fields. |
| “Users” and “Access roles” | Adding employees and assigning roles: administrator, manager, accountant, and so on. See Users and Access roles. |
| “Security” | Automatic sign-out after a period of inactivity. |
| “Change lock date” | The date after which documents cannot be created or edited. See Change lock date. |
| “Personalization” | Interface settings separately for each device type: computer, tablet, smartphone. |
| “Integration” | Connecting CRM, payment systems, and marketplaces. See Integrations catalog. |
Automatic sign-out
On the “Security” tab you can set the inactivity time after which Bimp ends the session. This protects data if a user leaves a session open. Keep the default value or reduce the time if security is critical. For workplaces where people need to work for a long time without signing in again, for example in accounting or in production, the interval can be increased or set to 0 (24 hours).
What to do after creating a company
After creating a company, set up accounting, check the organizations, and fill in the directories. The full order is in the launch checklist.
FAQ
How do I switch between companies in Bimp?
Click the Bimp logo in the top left corner of the screen and choose the company you need from the list.
Are the country and type of activity required?
No, the fields "Country" and "Type of activity" on the "Company" tab are optional.
How do I add a company logo?
In Settings on the "Company" tab, click "+" in place of the image, choose a file on your device, and click "Save changes".
When should I create a separate company and when an organization?
A separate company is created for an independent business with its own database. Legal entities or sole proprietors (FOP) within one business are entered as organizations in the "Organizations" directory.